


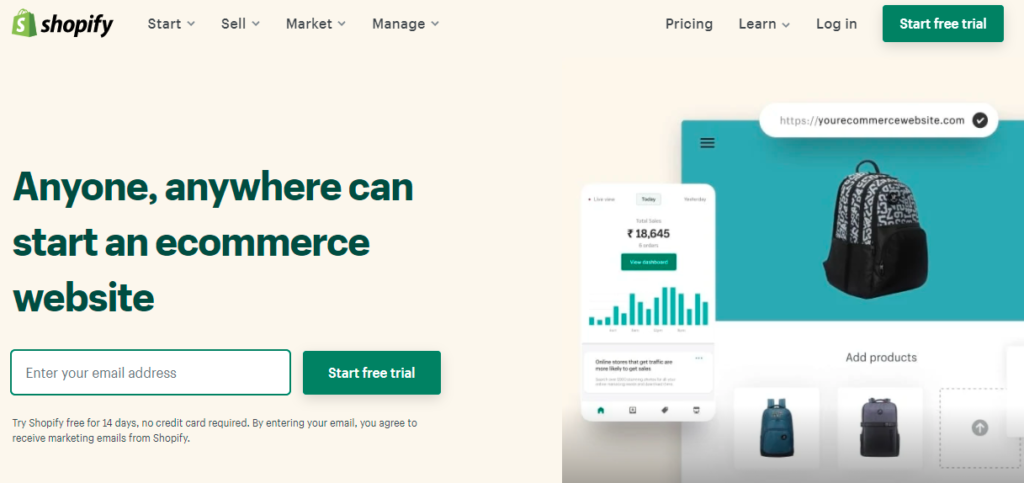
A Shopify store offers a streamlined solution for building and managing e-commerce websites, making it an ideal platform for drop shippers. Renowned for its ease of use, robust features, and dropshipping capabilities, Shopify stands out among website builders in the competitive landscape. With its intuitive interface, pre-designed templates, and extensive app ecosystem, a Shopify store empowers entrepreneurs to launch their online businesses without the need for advanced technical skills.
Whether you’re a seasoned merchant or a newcomer to e-commerce, these seven steps will guide you through creating a Shopify store efficiently.
1. Launch for a Shopify store
The first step to set up your Shopify account is to register for a free account. All you need is an email address to confirm your account. Shopify provides new users with a 14-day trial, allowing you to explore the platform’s features. During sign-up, you’ll also create a store name, which serves as your temporary URL. After this, you’ll complete a short form to finalize your account setup.
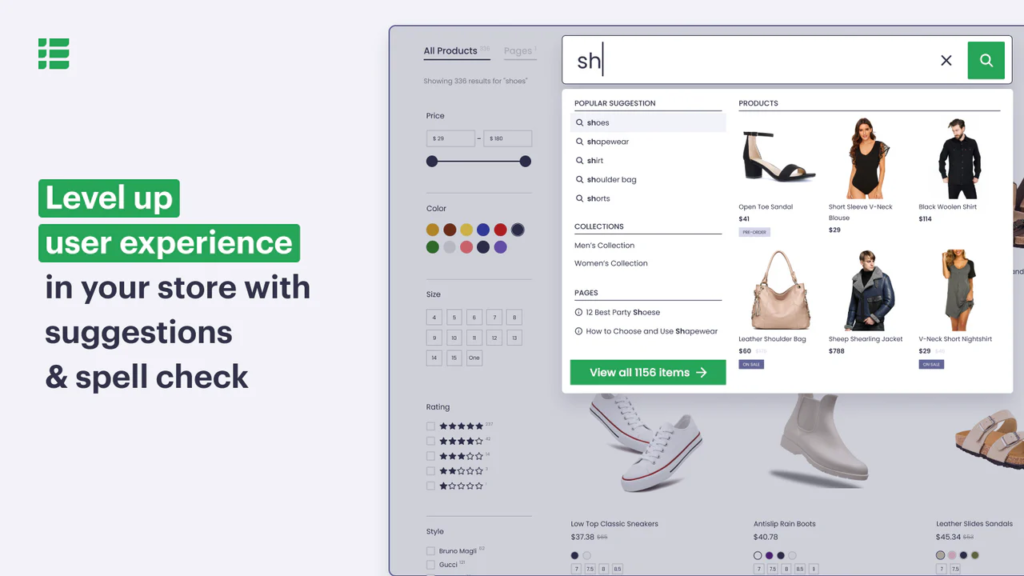
Moreover, Shopify web development takes the hassle out of setting up when it comes to dropshipping. Dive into the Shopify App Store, grab tools like Oberlo or Spocket, and start integrating products into your store in just a few clicks.
2. Install dropshipping app
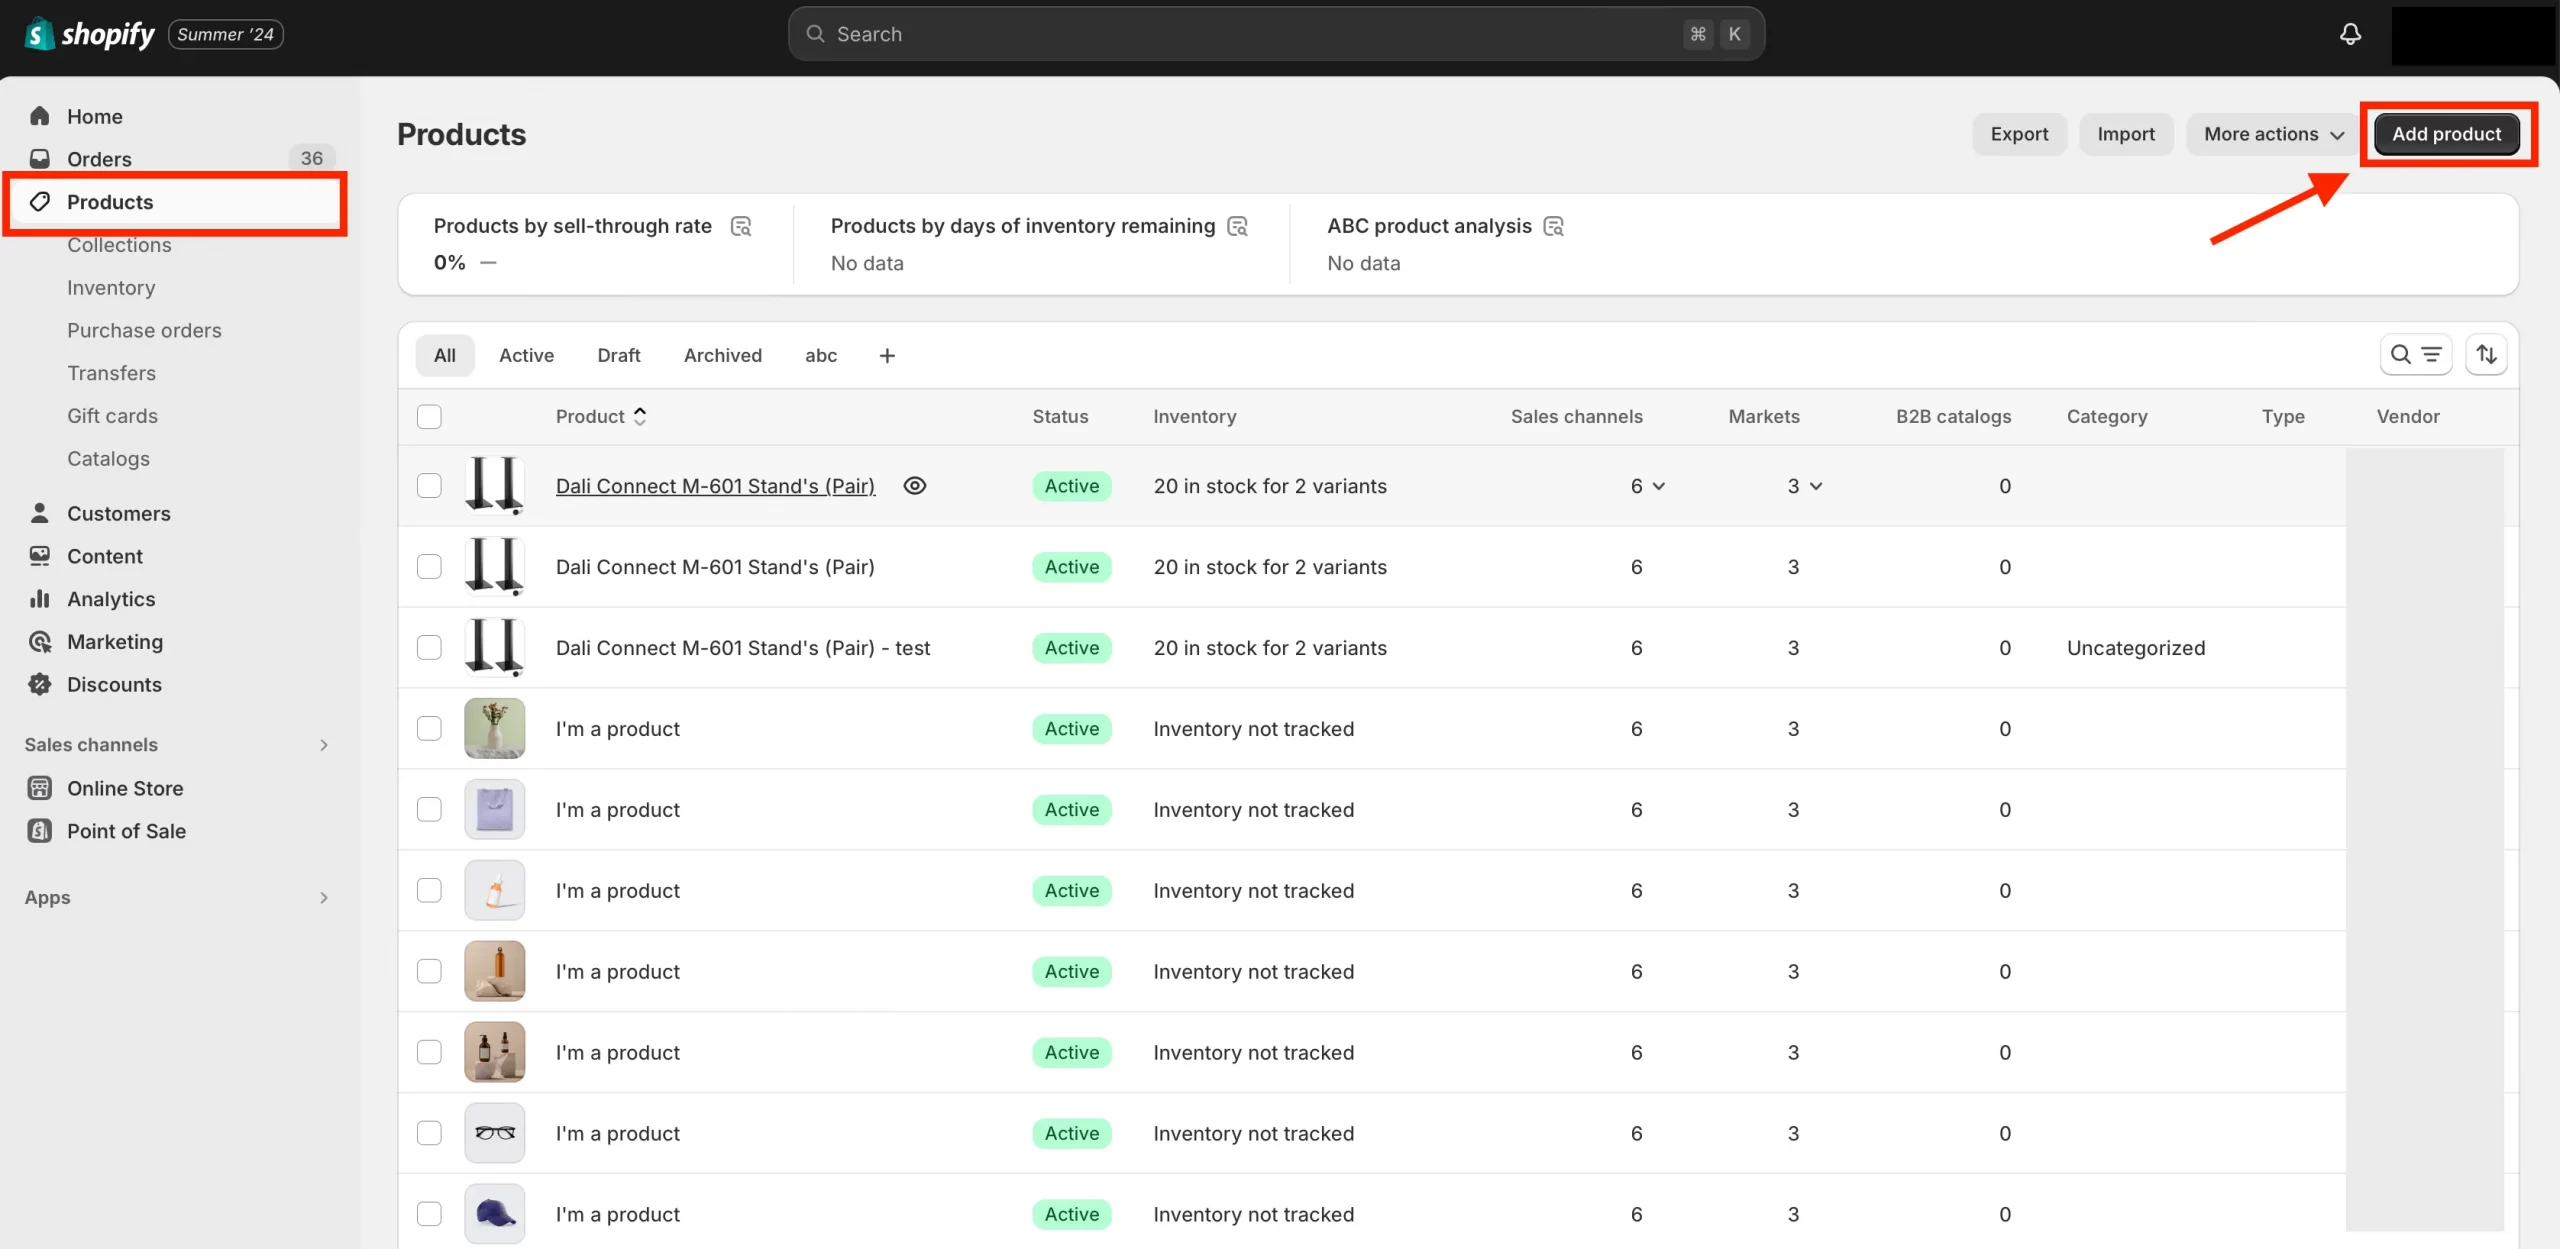
Once you’ve completed the sign-up process, you’ll be taken to your store overview page. From here, you can start adding products to your website. This is where one of Shopify’s highlights for dropshipping: The Shopify app.
For Dropshippers, Shopify can be a unique resource. The first thing you need to do is go to Shopify Apps. First, click on Apps and then select ‘Visit Shopify App Store’. When you are there, do a search for a dropshipping extension.
3. Search for the product you want
Using the dropshipping app is as simple as if you were shopping for yourself on the eCommerce page. First, select the category you want to browse. Next, hover over the item you are interested in and click ‘Add to Import List’.
Once you have added all the items you want, click ‘Import List’ on the navigation bar of the Oblero console. From there, you can customize the description, categories, and other data
4. Import selected products into your website
When you’re satisfied that everything is as you want, select the check box in the upper left of the product box and then click ‘Import into Store’. Repeat this for all the products you selected earlier.
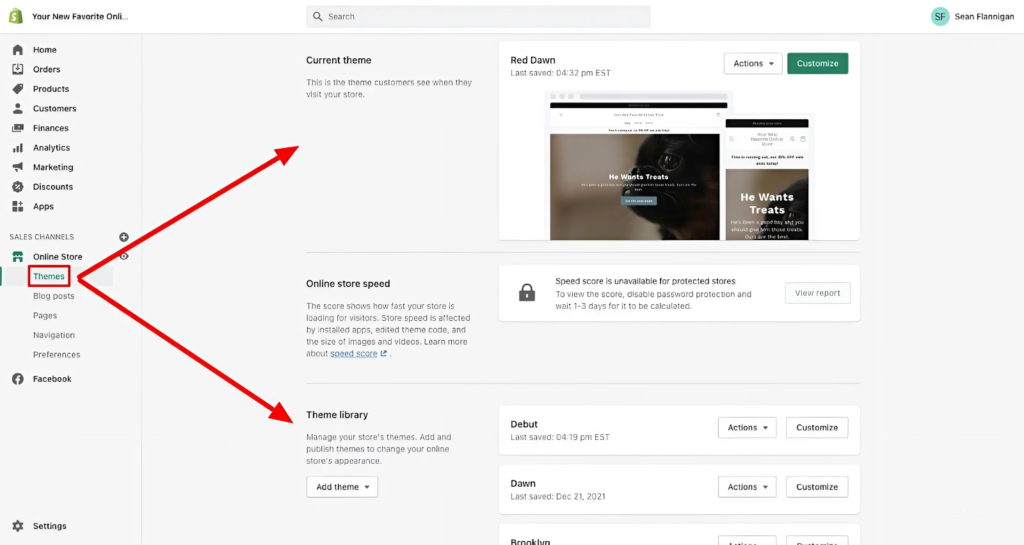
5. Select a theme for your Shopify store
Now that you’ve prepared all the products you want to sell, it’s time to set up your store.
Your Shopify store is like the face of your retail store. That’s how your visitors browse through the products you sell and select the items they want to buy.
To maximize sales, your store needs to combine appeal with usability and speed. However, don’t worry, Shopify has pre-designed templates that you can use. If you prefer, you can use them. If you prefer something more personal, you can customize the theme of your choice.
6. Customize your Shopify retail store
Shopify theme customizations depend on the theme you choose. Available segments by default can be turned on or off, or you can even add new segments that you want. To customize these sections, you just have to specify parameters such as which product collection you want to add to each section.
On the left navigation bar is a list of all the segments that are enabled by default in the theme. Clicking on any of them allows you to specify details such as which product collection will show there, or even how many rows or columns to display.
If you want to disable any previously set-up segment, just click on the eye icon and it will be hidden on your website. Right at the bottom of the left navigation bar is an option you can click to add a new segment. Clicking on it will open up a rich menu of items that you can choose from.
When you’re done, make sure that you click the ‘Save’ icon, even if you don’t want to publish your store yet.
Investing in Shopify web development can further enhance these capabilities, helping businesses unlock advanced features or integrations that amplify user experience. Whether it’s optimizing navigation or designing a personalized checkout process, developers can tailor your store to perfection.
7. Set up Payment
Now that your selected products have been added to your store, you need a means to be able to collect money from your customers. Shopify works with a large number of payment processors so you have a wide choice.
To set up checkout, click the ‘Settings’ button in the bottom-left corner of your profile. Next, select ‘Payment providers’. By default, PayPal is the enabled method, so you can customize your account details there or select a regional payment processor.
Some payment processors like MOLpay will require you to have an existing account with them to use on your Shopify page. Even PayPal will require you to have a seller account, but they will email you details about that later.

Your Shopify store isn’t just a website—it’s the launchpad for your brand’s future. With Shopify’s powerful tools and flexibility, the possibilities are endless. At Wgentech, we don’t just specialize in Shopify web development, we craft experiences that connect, convert, and grow. From turbocharging performance to weaving in custom solutions, we make your Shopify store the centerpiece of your e-commerce empire.
Building a Shopify store is simpler than ever with the latest Shopify Winter ’24 Edition as it offers enhanced features and customization options that make setting up and managing your store even more seamless.